

This is a great Fall/Thanksgiving project to do with your kids to reflect on all that you are grateful for. I hope you enjoy this as much as we did!
What you'll need:
Assorted Construction Paper (Michael's $3.49)
Pine Cones (depending on where you live, you can find your own. But if you'd rather buy them, they usually sell them at crafts stores)
Brown Twine (Michael's $3.99)
Lace Ribbon (Michael's $3.99)
Branches (get them from your yard, park or a hike with your family. If you can't find any, they do sell branches for $10 a bundle at Michael's)
Fall Leaves (or a printout to trace)
Vase
Scissors
Glitter and Glue for the Pine Cones *Optional*
Tree Pendent (Michael's $4.99) *Optional*

Directions:
Step 1: Have your kiddos go leaf and branch hunting. The branch size depends on how big you want it to be and what will fit in your vase (we had to play around with a few before we got the right fit). We ended up using two branches. Find a good traceable leaf or find a couple different sizes if you want some variety.

Step 2: Trace the leaf on a piece of paper (preferably white so you can see the details) to use as your main cutout for tracing (using a fresh leaf over and over again may not work because they start to crumble as they dry out).

Step 3: Trace or have your kids trace leaves in all the different fall colors on construction paper. Please use caution if you chose to let your kids cut out the leaves.

Step 4:


My 4 year old son is still learning how to write but he is very good at writing his name. So on one side of his leaf he scribbled (his cute version of writing) and on the other side I wrote what he was thankful for (in his own words) and he signed his name.
My 7 year old daughter had a hard time fitting everything she was thankful for on one leaf, so we had to practice writing smaller and on multiple leaves.
Step 5: Fill your vase with the pine cones. If you want you can add an extra step of putting glue and glitter on the pine cones but make sure to let them dry before putting them in the vase.
Step 6: Wrap the lace ribbon around the vase.

Add the twine over the lace and string the pendant on it.
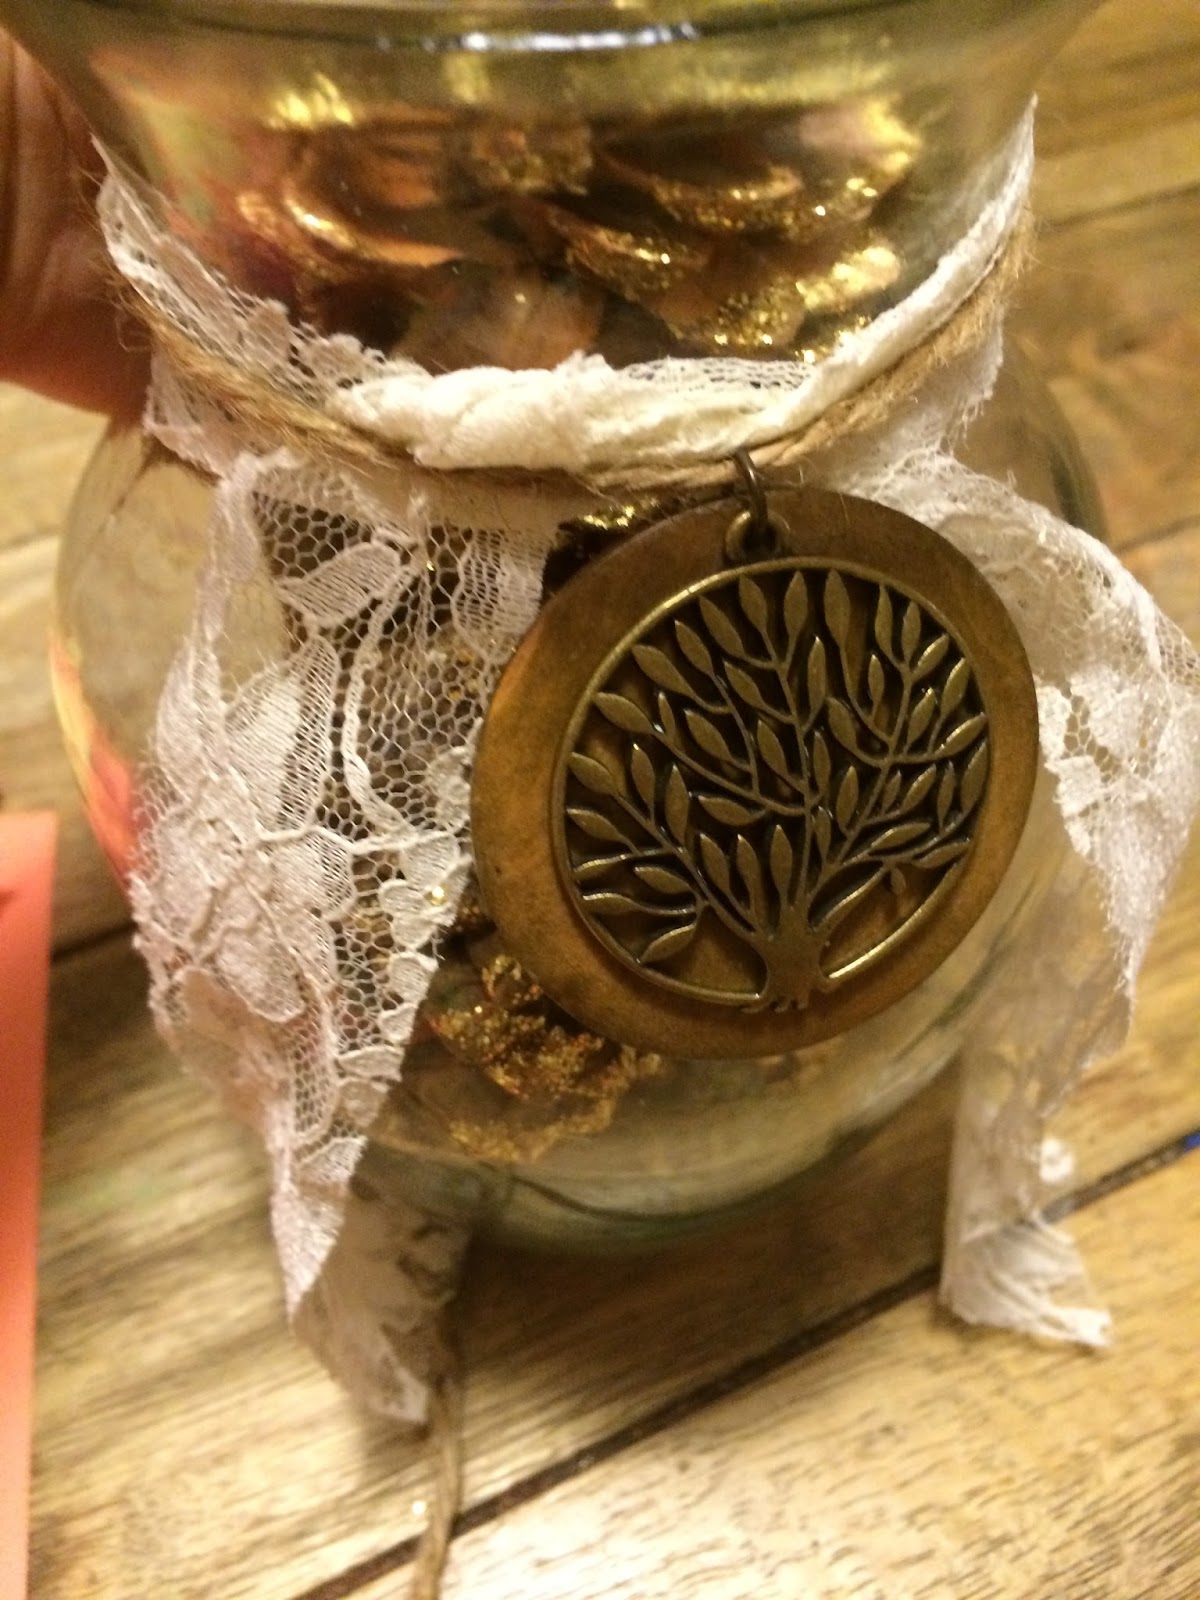
Finish by tying the lace and twine in a bow.

Step 7: Poke a hole in the leaves (we just used a pen) and string the twine to tie them onto the branches.

Step 8: Add as many leaves as you can or want to. You can have other family members and friends add to your tree as well. Put your tree on display for everyone to look at and/or add onto during Thanksgiving week.

No comments:
Post a Comment